When it comes to protecting a commercial or residential building, the roofing system matters more than most people think. As a trusted roofing contractor, we’ve seen firsthand how important it is to use materials that can stand the test of time and changing weather conditions.
That’s why TPO roof installation is one of the services we’re proud to offer. This guide will walk you through what it takes to install TPO roofing the right way—from preparation to welding seams—and explain why so many property owners are choosing this material.
What Is TPO Roofing?
TPO, short for Thermoplastic Polyolefin, is a single-ply roofing membrane widely used on low slope and flat roofs—particularly in commercial buildings. It’s crafted from a mix of polypropylene and ethylene-propylene rubber, with a polyester scrim layered in for reinforcement. This combination allows the membrane to flex with temperature fluctuations while holding its shape and strength over time.
One of the standout features of TPO is its bright white reflective surface. This high solar reflectivity plays a big role in reducing heat absorption, especially during summer months or in sun-heavy regions. That leads to lower indoor temperatures, less strain on air conditioning systems, and noticeable energy savings—something many of our clients are happy to see on their utility bills.
TPO is also known for its resistance to UV degradation, mold growth, and common rooftop chemicals like grease, oil, and acid rain. Its surface doesn’t crack or dry out as easily as some older materials. This makes it a strong candidate for long-term reliability. Because of its relatively lightweight nature, it doesn’t place added stress on the building’s structure, either.
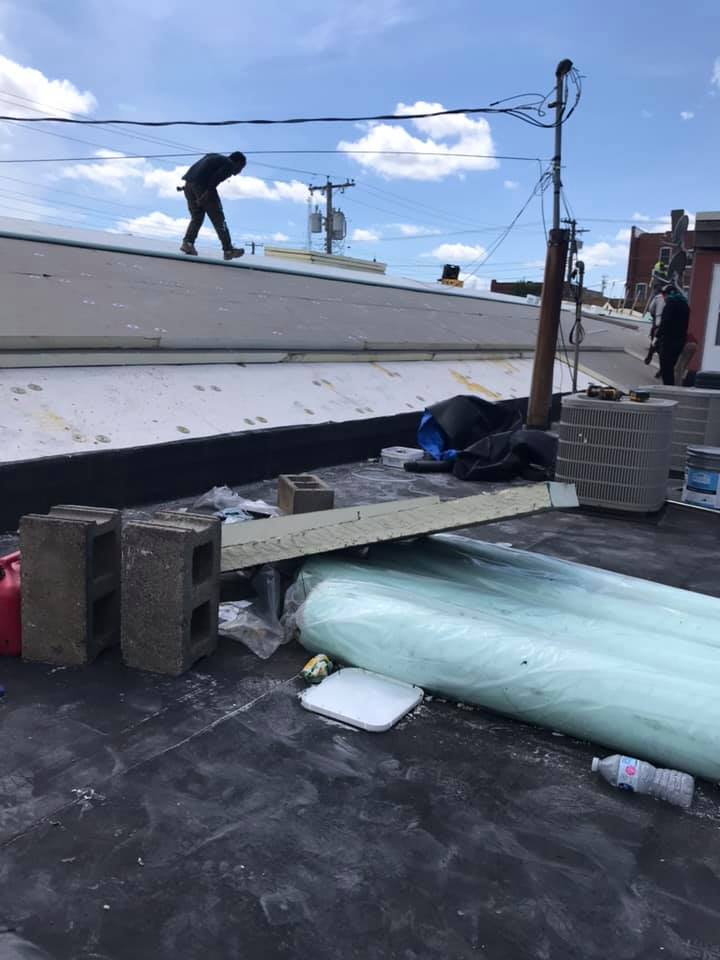
Preparing the Roof Surface
The success of a TPO system starts well before the membrane touches the deck. Our first step is always to examine the roof surface in detail. We check for any water damage, soft spots, or areas where the deck might need to be replaced. This allows us to fix structural issues early so we don’t trap problems under the membrane.
After inspecting the deck, we remove the existing roofing materials. This process can be noisy and messy, but it’s necessary. TPO needs a clean, smooth base.
Once stripped, we sweep away debris and make any needed surface repairs. Patching, sanding, or reinforcing areas that feel weak are all part of this stage. At this point, we’re setting the stage for proper insulation and membrane bonding.
Installing the Insulation Boards
Insulation plays a big role in how well the TPO system performs. We use different types depending on the project needs—polyiso is a popular choice because it has a high R-value per inch. The insulation boards are laid in a staggered pattern to avoid thermal bridging, and we fasten them tightly to the deck.
Fasteners and plates are placed in a pattern designed for wind resistance and coverage. Any small gaps between boards are filled with spray foam or insulation adhesives to prevent air leakage. This layer not only supports the membrane but also helps regulate indoor temperatures year-round. It’s a foundational part of every TPO job we do.
Rolling Out the Membrane
Once the insulation is secure, we roll out the TPO membrane. These rolls are usually 10 to 12 feet wide and are positioned so that seams overlap in the right direction—typically away from the prevailing wind. This minimizes any chance of wind-driven water working its way under the lap joints.
We allow the material to “relax” a bit before fastening or adhering it. That gives it time to adjust to the surface, which helps avoid wrinkles or tension bubbles. From there, we use one of two systems: mechanically attached or fully adhered.
Mechanical vs. Fully Adhered Installation
In a mechanically fastened system, we secure the membrane using screws and plates that run along the seams. Then we heat-weld those seams closed. This approach works well for large open roofs and buildings with less concern for uplift forces.
On the other hand, in a fully adhered system, we apply bonding adhesive directly to the insulation or cover board and then lay the membrane over it. We press it down thoroughly to make sure it stays tight and flat. This method creates stronger resistance to uplift and is great for buildings in high-wind zones.
Heat-Welding the Seams
This step is where the membrane truly becomes a single, unified system. Using a hot-air welder, we apply heat to the overlapping seams and then press them together. It’s a precise process—too much heat, and the material burns. Too little, and the seam won’t hold.
Our team tests the temperature and speed settings at the start of every job and constantly checks seam quality throughout. We also perform probe tests once the welds cool to confirm that everything bonded properly.
It’s this step that separates a good TPO installation from a great one. A poorly welded seam can lead to leaks down the road. We don’t let that happen.
Flashing Around Details and Penetrations
No roof is a perfect rectangle—vents, skylights, HVAC curbs, and drains all require detailed sealing. TPO-compatible accessories or hand-fabricated flashings are used to wrap and secure these areas.
For pipe penetrations, a boot is cut to fit snugly before being heat-welded to the base membrane. Cover tape is applied where necessary for additional waterproofing. Every termination is carefully inspected and reinforced to prevent lifting or tearing. Since leaks typically occur where the membrane meets other structures, extra care is taken in these zones.
Final Inspection and Clean-Up
Once the membrane and details are complete, we do a full inspection. We walk the entire surface, probe seams, and check transitions. Any welds that don’t pass inspection are reheated and corrected immediately.
The work area is then cleared of materials, debris, and tools to guarantee a clean, safe surface. A final project review is conducted with the client, addressing any questions and guaranteeing confidence in the newly installed roof.
Why TPO Is a Smart Choice
For those considering a new roof, TPO offers multiple advantages:
- Cost-effective: TPO roofing provides excellent performance at a competitive price. Compared to other single-ply roofing systems, it delivers long-term value without the high upfront costs associated with materials like PVC or EPDM.
- Energy-efficient: With its highly reflective surface, TPO roofing helps minimize heat absorption, keeping buildings cooler during hot months. This reduces strain on HVAC systems, leading to lower energy consumption and decreased cooling costs.
- Durable: TPO is engineered to withstand harsh environmental conditions, including UV exposure, high winds, and extreme temperatures. It resists mold and algae growth, and prevents the degradation issues that often affect other roofing materials. Additionally, its flexibility allows it to expand and contract with temperature changes.
- Efficient installation: The lightweight nature of TPO simplifies handling and installation. This allows for quicker deployment compared to other roofing systems. Heat-welded seams create a seamless and watertight bond. They help eliminate the need for adhesives that can slow down the process.
Our Commitment at Harveys Five Star Roofing
We take pride in doing the job right from the start. Every TPO roof installation we complete is backed by our experience, our care, and our belief in high-quality workmanship.
If you’re thinking about upgrading your residential or commercial roofing system, we’re here to help. We’ll walk you through the materials, answer questions about the process, and deliver a roof you can count on for years to come.
Visit us to learn more or request a quote. Let’s talk about what’s next for your roof.